You can try it for free before purchasing by clicking this link and downloading our trial version
Securely create and share Golden Master images with your team in minutes
Introduction
One of the key challenges of managing many virtual machines is ensuring that all are running the same software stack. This is especially true when you have a large team of developers, each of whom may have their unique development environment. There is also the concern of ensuring the software stack is secure and up-to-date. This is where Golden images come in. A Golden Master image is a virtual machine that has been configured with the software stack that you want to use. This image can then be shared with your team, ensuring everyone uses the same software stack.
Let’s look at how you can use the Parallels Desktop DevOps Service to create a Golden Master image and share it with your team. We will create an Ubuntu Virtual Machine and install the required software stack. We will then use the Parallels Desktop DevOps Service to make a Golden Master image of the virtual machine and share it with our team using the Parallels Desktop DevOps Service and its Remote Catalog capability.
So lets get started!
Creating a local Golden Master image
Requirements
Install Parallels Desktop for Mac
After installing the DevOps service, we can use it to install Parallels Desktop for Mac by running this command:
prldevops install parallels-desktop
This will download and install the latest version of Parallels Desktop for Mac and install it on your system.
Create a Virtual Machine
We have installed the virtualization software and can now create a virtual machine. For this example, we will create a virtual machine of Ubuntu 22.04 Server.
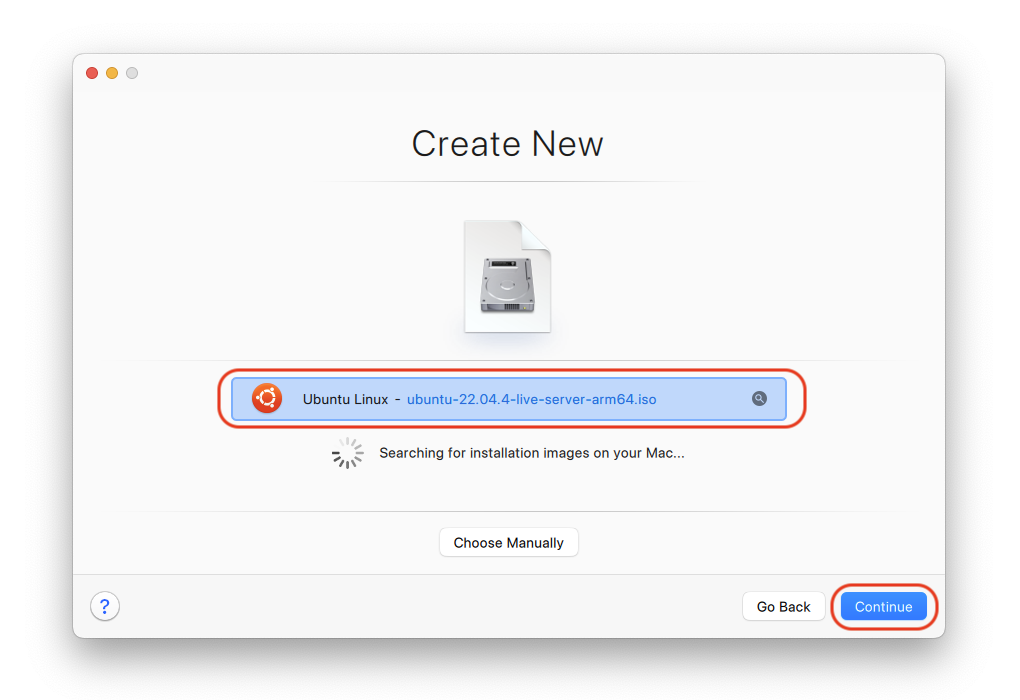
Download the ISO for your architecture
You can download the ISO from the Ubuntu website or use the links below:
Install Ubuntu
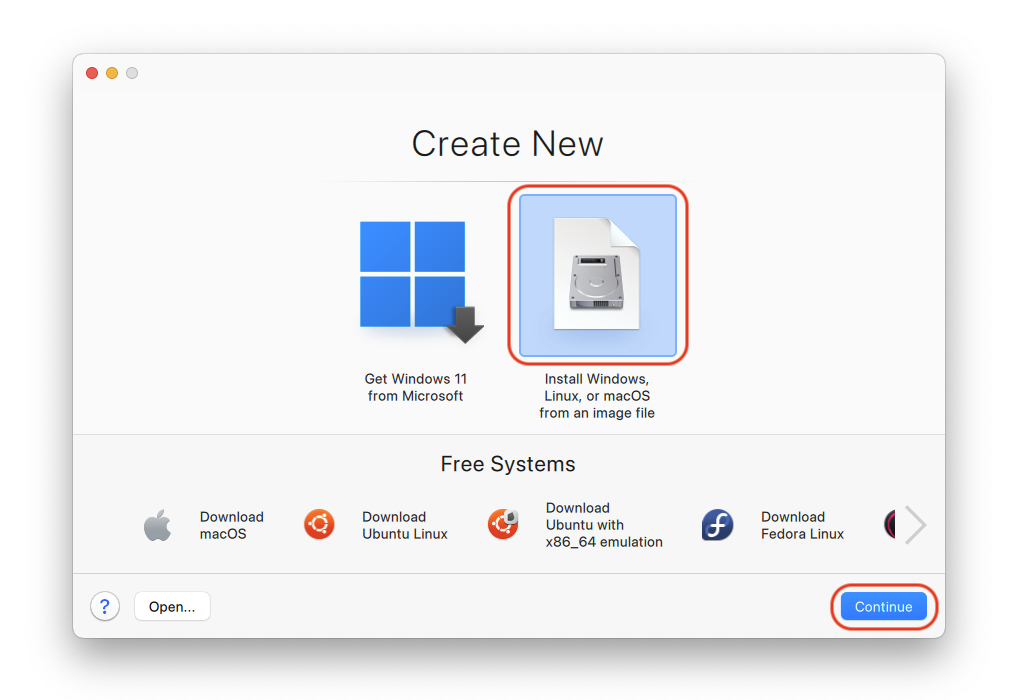
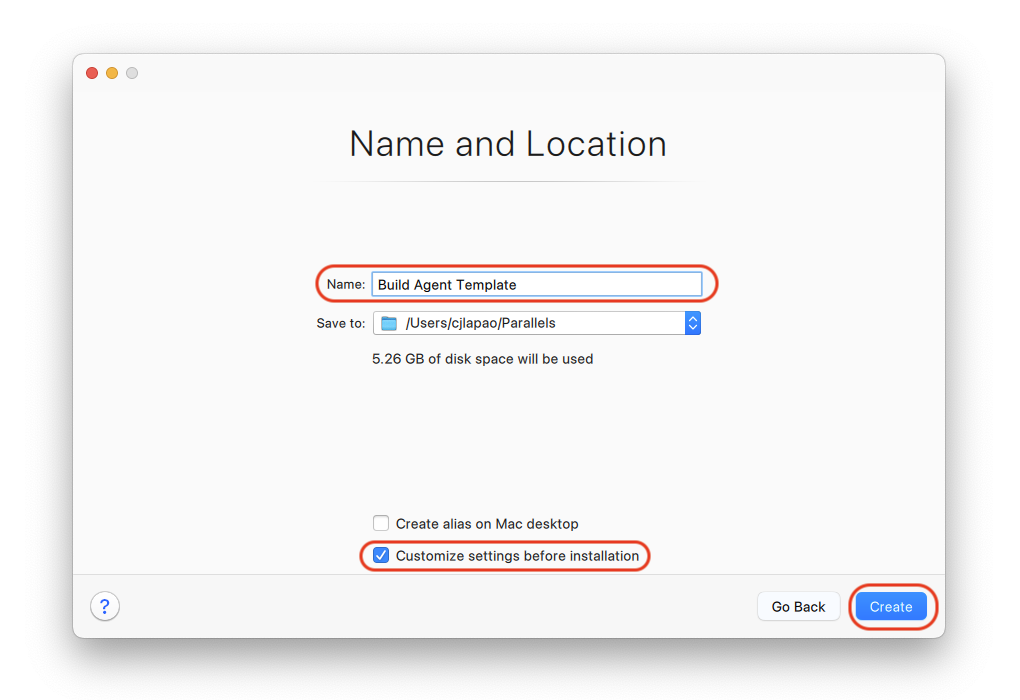
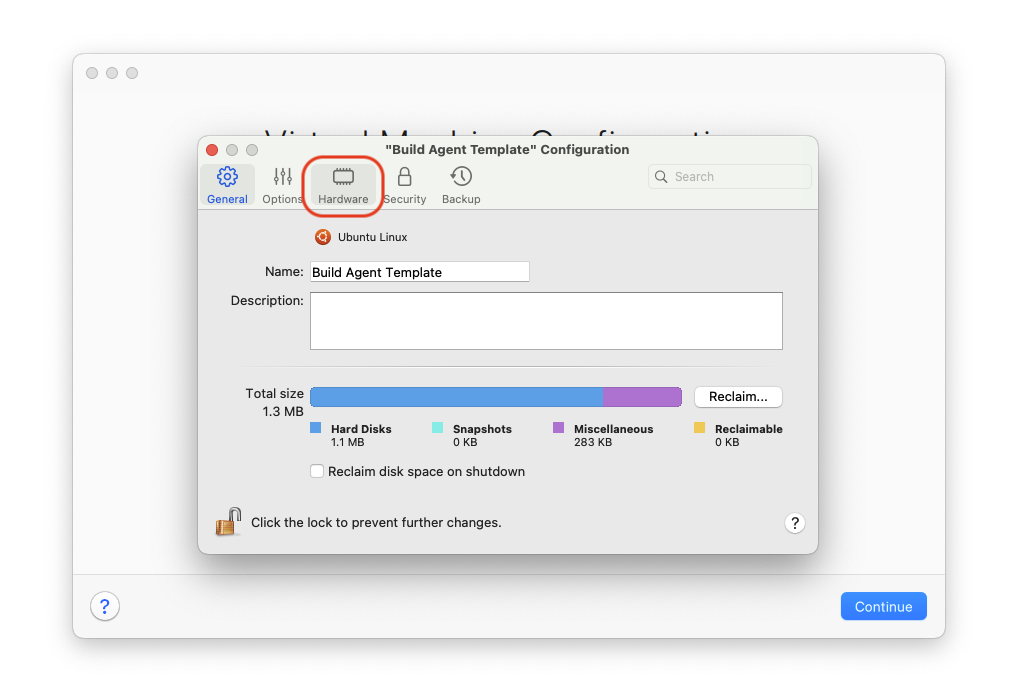
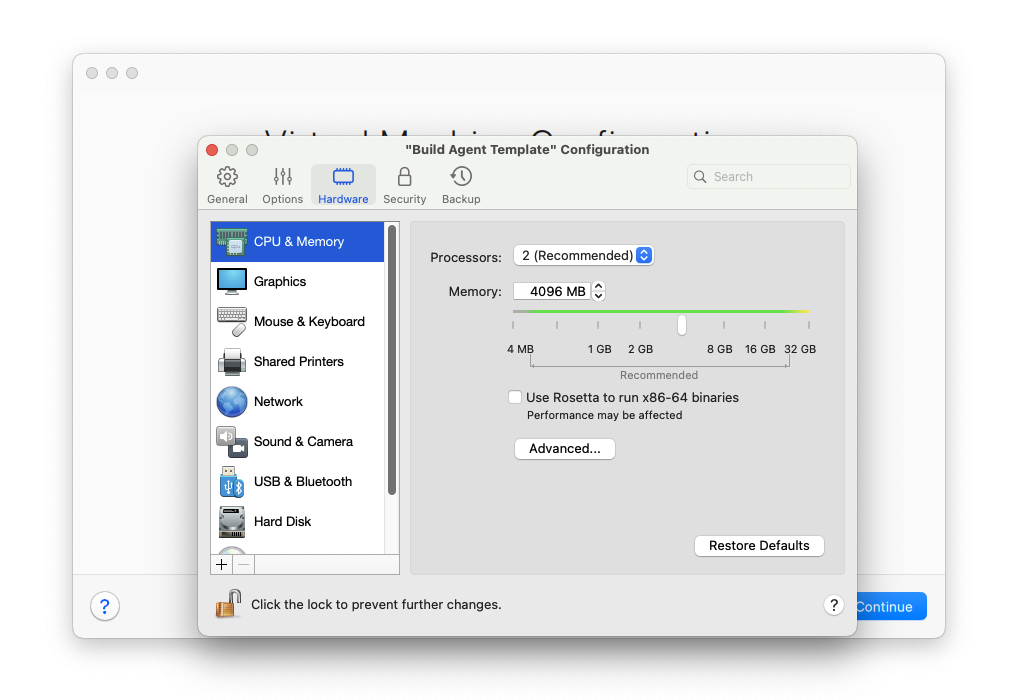
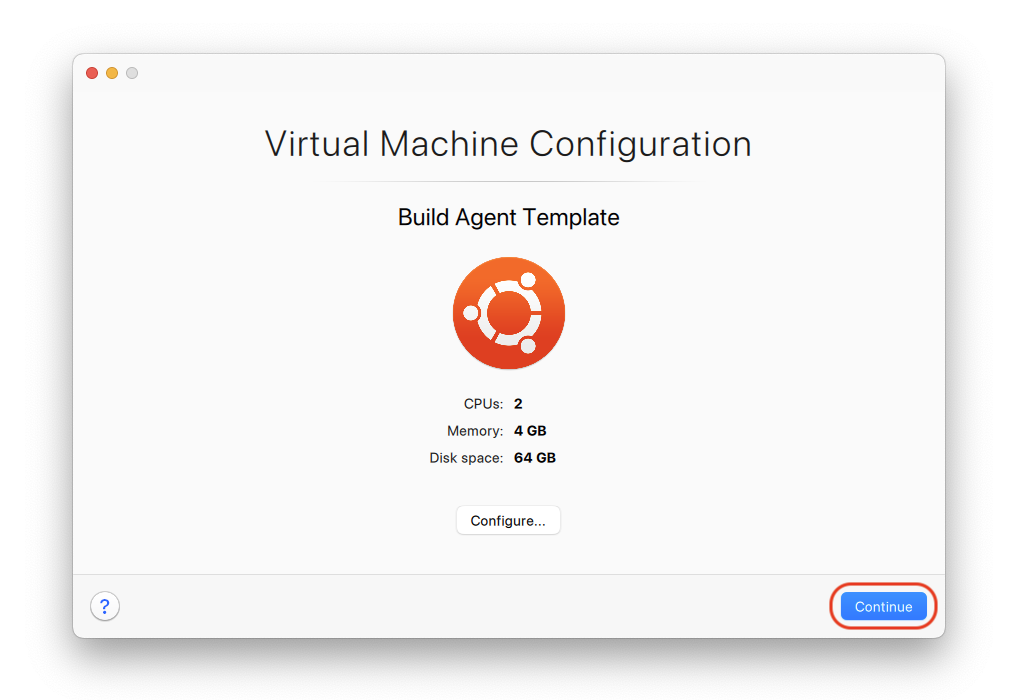
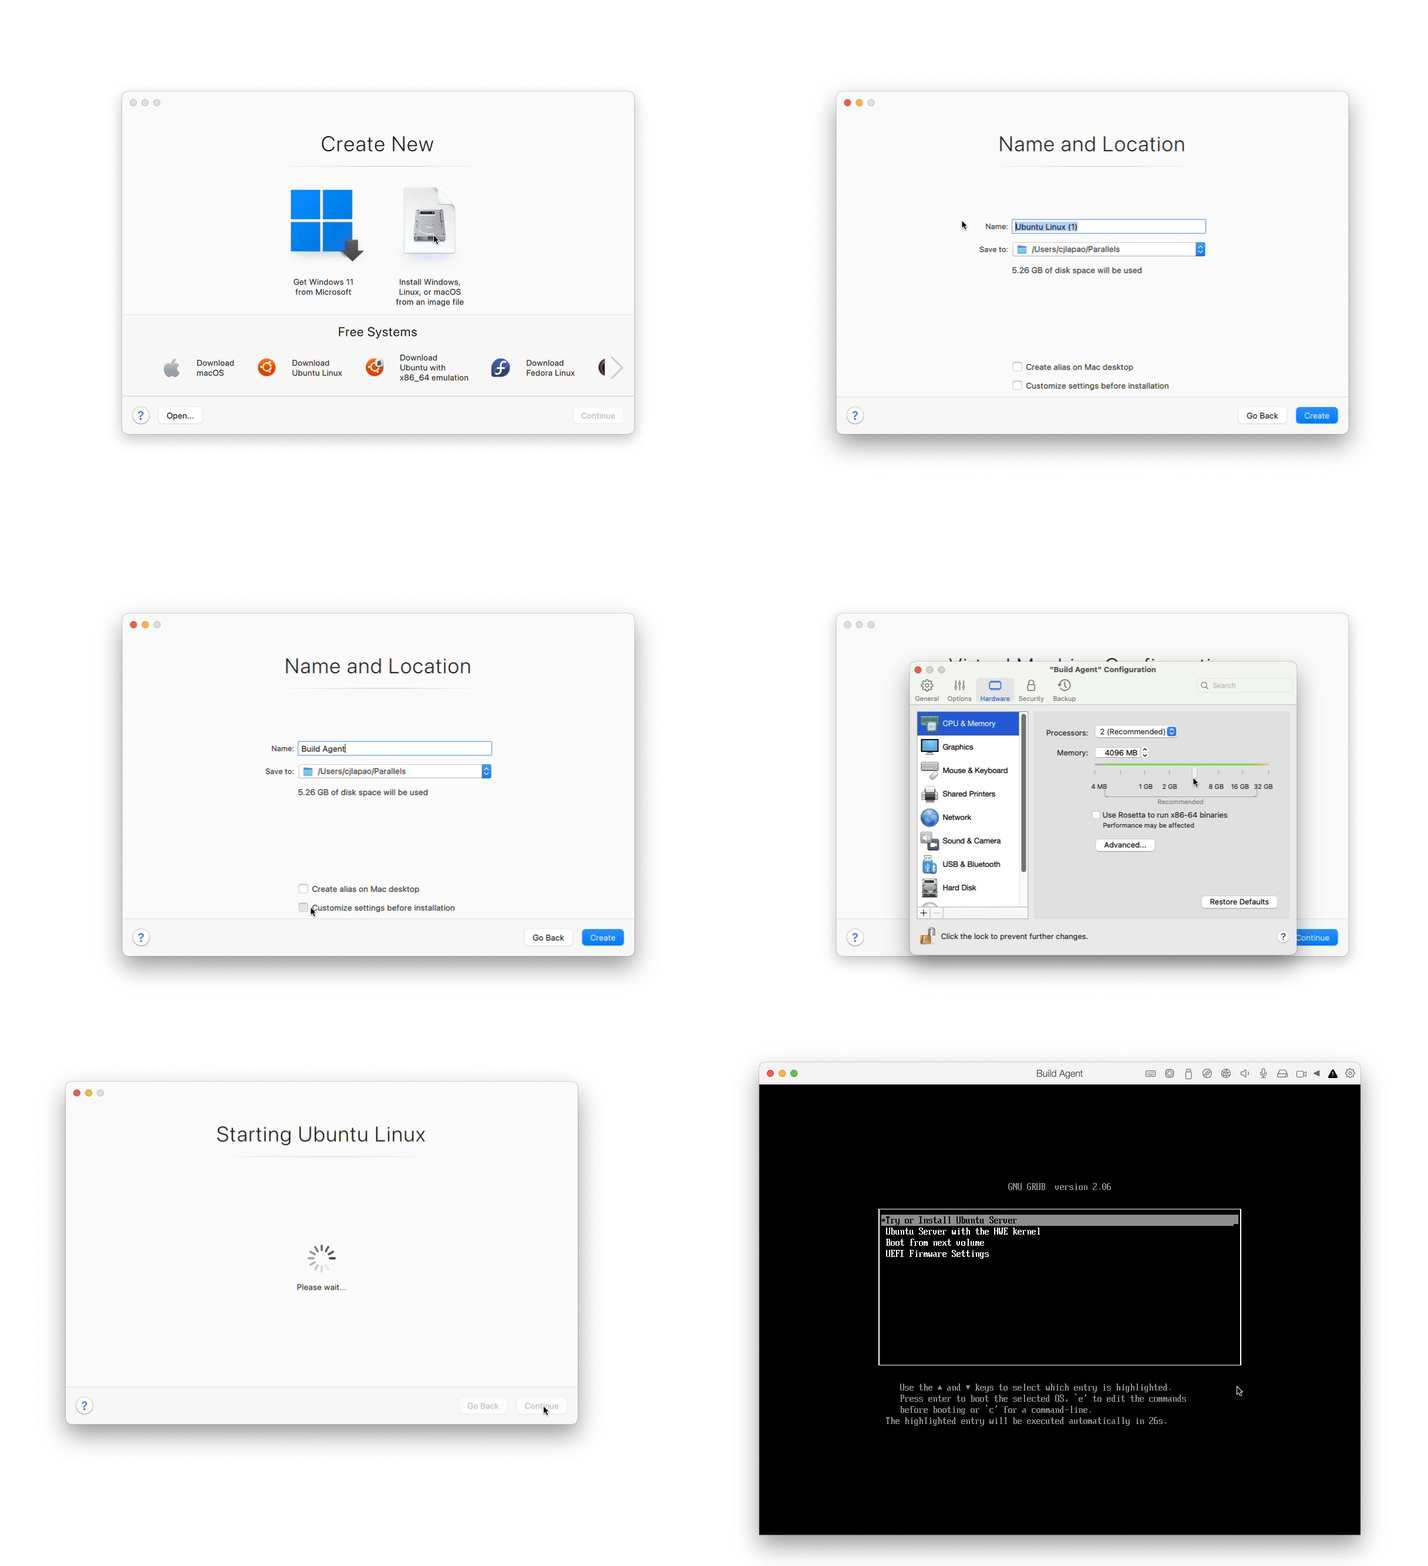
After downloading the ISO, you can create a new virtual machine using either Parallels Desktop Control Center or the Command Line Interface.
Installing Parallels Tools in the Virtual Machine
To enable certain features in this example, the Parallels Tools must be installed. You can do this by following the instructions that appear on the screen. Unfortunately, until the tools are installed, you won’t be able to use the copy and paste function. In order to proceed, please go to the machine, login with the user you created, and enter the following commands:
Let’s start by unmounting any currently mounted cdroms and creating a new mount point for the cdrom0 device.
for dev in /dev/sr0 /dev/cdrom /dev/dvd; do sudo eject $dev; done 2>/dev/null
sudo mkdir /media/cdrom0
Now lets add the Parallels Desktop Tools iso using the ui
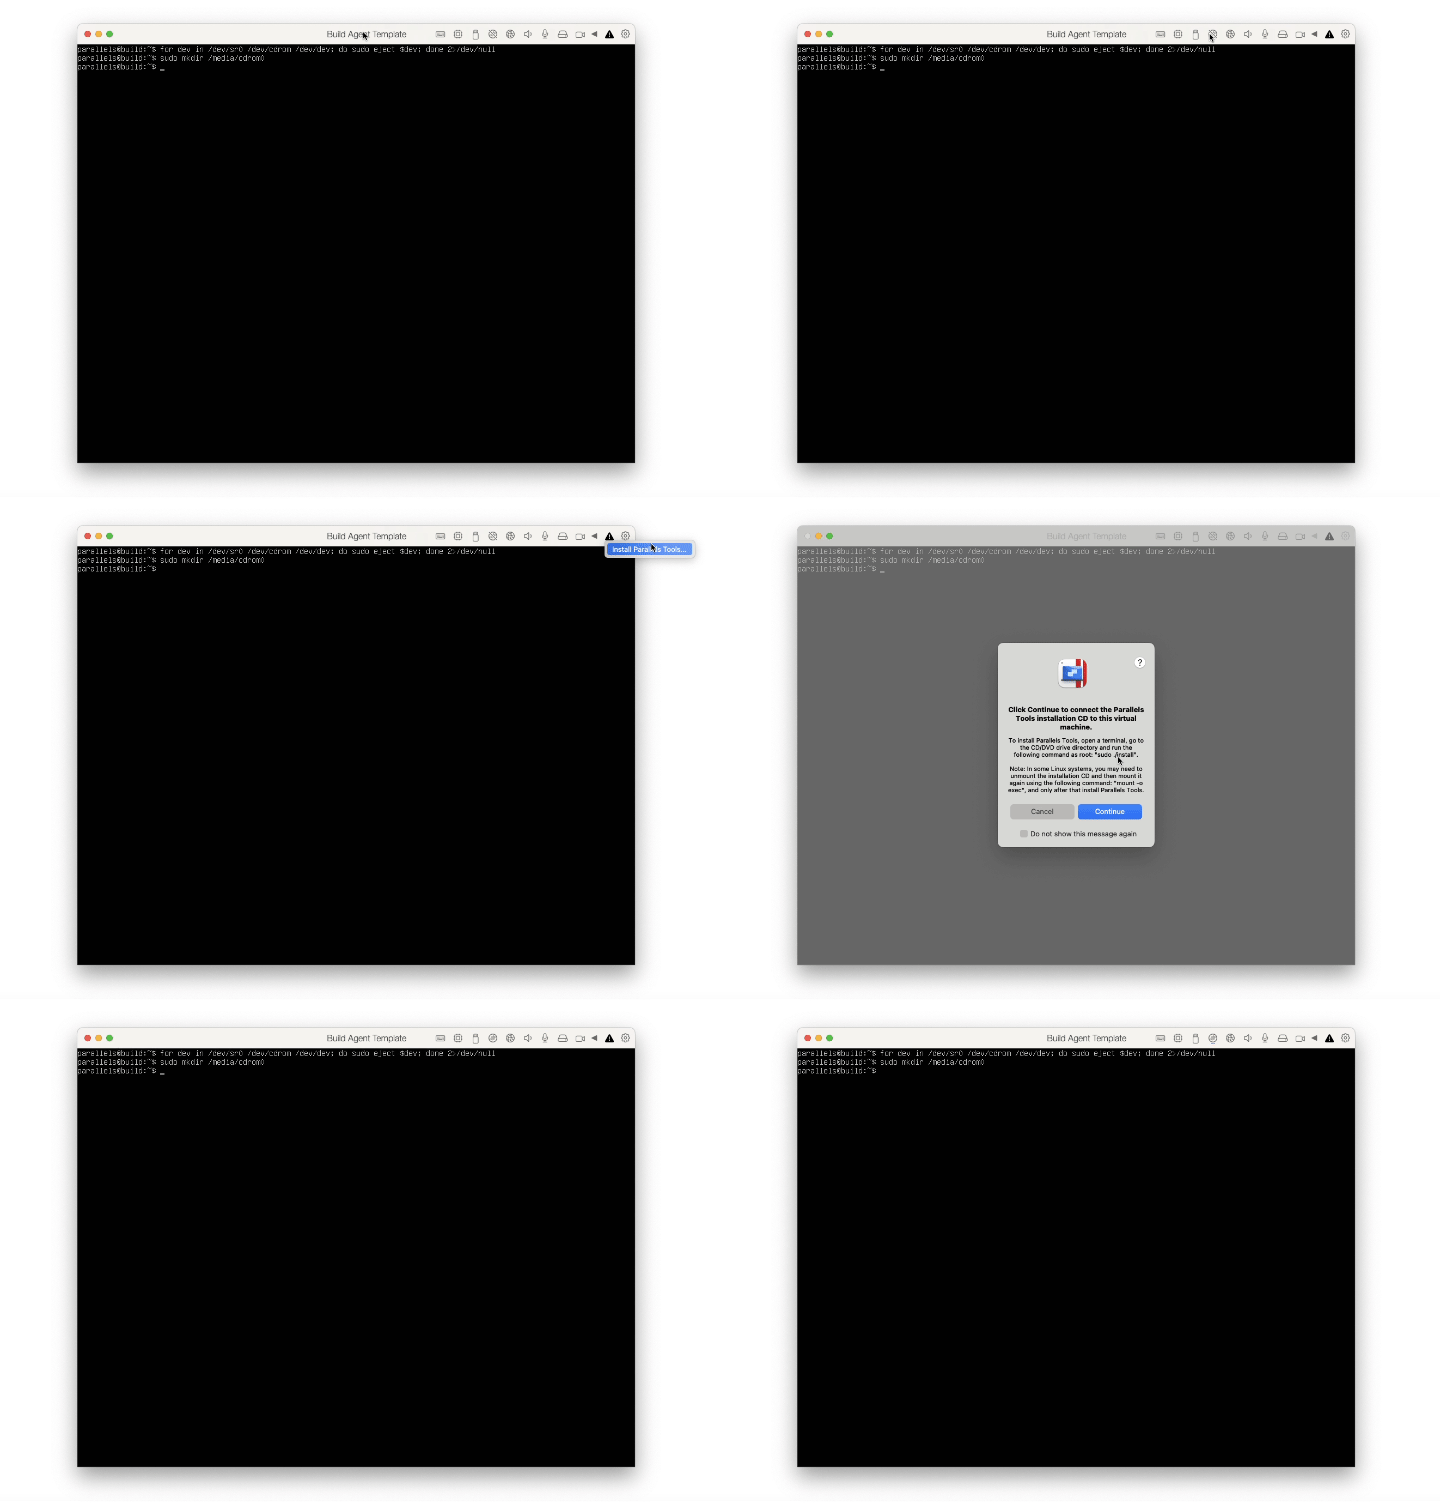
To install the tools, run the command given below:
sudo mount -o exec /dev/sr0 /media/cdrom0
sudo /media/cdrom0/install
reboot
You should have Parallels Desktop Tools installed and running. For more information, follow the official documentation
Customize the Golden Image (Optional)
For our example we will be installing some development tools stack, this is not mandatory and it serves only as an example.
You can entirely skip this step if you want to just quickly test the service.
Our software stack will include:
- Docker
- Node.js
- Python
- Dotnet SDK
To start, we need to access the machine through the terminal using the command line client. Use the following command:
prlctl enter "test-vm"
Once inside, we can proceed with installing the necessary software stack by running the following commands:
sudo apt update && sudo apt upgrade -y
sudo apt install -y docker.io nodejs npm python3 git dotnet-sdk-8.0
After the installation is complete, you will have a virtual machine with the required software stack installed, and it will be ready for use.
You can now shut down the virtual machine as we do not need it running anymore.
Configuring and Running our DevOps Remote Catalog
The DevOps Remote Catalog is a service designed to facilitate the sharing of VMs or Golden Master Images in your organization, if you want to know more on how it works you can check the official documentation
For this example, we will set up Parallels Desktop DevOps Remote Catalog service as a locally running daemon. You can deploy it as a docker container in the cloud or as a daemon service in any remote macOS.
Configuring the DevOps Remote Catalog
To set up the service, we will need to create or edit a configuration file.
-
Run the command below to create the config file:
If you have previously created a configuration file, you can skip this steptouch config.yml -
Open the file 4.
open -a TextEdit /usr/local/bin/config.yaml -
Add the following content:
 environment:
   api_port: 80
   mode: catalog
This will configure the service to run in catalog mode and listen on port 80 with all the default settings. However, this setup is only suitable for quick testing. For production use, we need to implement additional security measures to ensure a more secure deployment. You can find more information about security options in the official documentation
Security
The service will run with default values, these are just fine for demos and to quickly get the service running but for production use, you will need to secure the service. You can find more information about how to secure the service in the official documentation
Starting the service
To initiate the service, all you need to do is execute the command given below:
prldevops
If you have started the service as a daemon, you can check the status of the service by running the command below:
sudo launchctl kickstart -k system/com.parallels.devops-service
Changing the Root password
Typically, the service is initiated with a randomly generated root password. However, in order to access the service’s REST API, you will need to update this password. To do so, we provide a simple command line. For instance, we will set the password as VeryStr0ngP@ssw0rd, but you may choose any password you prefer.
prldevops update-root-password --password=VeryStr0ngP@ssw0rd
Pushing the Golden Master Image to the Remote Catalog
We now have ourDevOps Remote Catalog service up and running, which means we can proceed to push the Golden Master image to the service. But before we start, we need to take care of a few requirements.
The DevOps Remote Catalog works by storing only the metadata of the Golden Master image. This implies that the actual image will be stored in a remote location. In this example, we will be using an S3 bucket to store the image. However, you can use any other compatible storage service like Azure Blob Storage or jfrog artifactory. Most of these providers offer a free tier that you can use to test this feature. For more information about the architecture, you can refer to this link here.
Creating the PDFile
We have designed an easy way to automate the push and pull process of virtual machines (VMs) using a reusable file called pdfile. This file contains essential information required to push and pull VMs from our catalog. It is similar to a dockerfile but specific for VMs. You can find more information about the pdfile in the official documentation
In this example we will be using the Local Storage provider, this provider is used to store the VMs in the local machine, this is useful for testing purposes.
Before we can push the Golden Master image to the local storage, we need to create a folder that will contain our VM image. This folder will be used as the CATALOG_PATH in the pdfile. For now we will be creating a folder in our user space called prldevops-catalog-manifests
mkdir ~/prldevops-catalog-manifests
To create a pdfile, you need to create a pdfile anywhere in your system, for example:
touch ~/ubuntu-builder.pdfile
open -a TextEdit ~/ubuntu-builder.pdfile
include the following content:
# This is the catalog host we want to push the image to
TO localhost
# We are using the localhost and this is insecure so we can add the insecure flag
INSECURE true

# We authenticate this using the root user and the password we set before
AUTHENTICATE USERNAME root
AUTHENTICATE PASSWORD VeryStr0ngP@ssw0rd

# We will be using the local storage provider to store the VM
PROVIDER NAME local-storage
PROVIDER catalog_path /Users/<user>/prldevops-catalog-manifests

# The path to the VM image we want to push
LOCAL_PATH </path/to/the/test-vm.pvm>

# Description of the VM, this is optional and just adds a description to the catalog entry
DESCRIPTION Build Machine

# The tags of the VM, this is optional and just adds tags to the catalog entry that will
# help to filter the catalog entries
TAG ubuntu, build-machine, arm64, docker, python, nodejs

# The catalog id of the image we want to push
CATALOG_ID ubuntu-22-04-builder

# The version of the image we want to push
VERSION v1

# The architecture of the image we want to push, this is optional and if omitted the
# architecture will be set to the architecture of the VM
ARCHITECTURE arm64
Where:
<user>: will be the user name for your system</path/to/the/test-vm.pvm>: is the path to the VM image you want to push to the catalog
This will push the VM from the LOCAL_PATH to the localhost remote catalog with everyone having access to it. However, we can restrict access to specific claims and roles for each catalog entry. To achieve this, you can add the ROLE and/or CLAIM into the pdfile and using our RBAC system, you can restrict access to the catalog entry.
You can read more about the RBAC and how to set it up in the official documentation
Pushing the Golden Master Image
To push the VM image to the catalog, you can run the following command:
prldevops push ~/ubuntu-builder.pdfile
This process duration may vary depending on your VM size and internet speed.
Listing the Catalog
Now that we pushed the Golden Master image to the catalog, we can list the catalog entries by running the following command:
prldevops catalog list
this should return a list of all the catalog entries that are available in the catalog.for example:

Pulling the Golden Master Image
Now that we have the Golden Master image in the catalog, we can allow our team to pull it and use it to create new virtual machines.
This of course is going to use the local storage provider as an example but you can use any other provider that you have configured in the service.
To pull the image that we just pushed, we need to create a new pdfile that will contain the information required to pull the image.
To create a pull pdfile, you need to create a pdfile anywhere in your system, for example:
touch ~/pull-ubuntu-builder.pdfile
open -a TextEdit ~/pull-ubuntu-builder.pdfile
Include the following content:
# This is the catalog host we want to pull the image from
FROM localhost
# We are using the localhost and this is insecure so we can add the insecure flag
INSECURE true

# This is the catalog id of the image we want to pull
CATALOG_ID ubuntu-22-04-builder
# The version of the image we want to pull
VERSION v1
# The architecture of the image we want to pull
ARCHITECTURE arm64

# The name of the machine that will be created
MACHINE_NAME build-machine

# We can set the ownership of the machine to a specific user, this is not mandatory and
# if omitted the machine will be owned by the user that is pulling the image
OWNER cjlapao
# The destination where the machine will be stored, this is not mandatory and if omitted
# if omitted the machine will be stored in the default location of the parallels desktop
DESTINATION /Users/<user>/Parallels

# We can set the machine to start after the pull is complete, this is not mandatory and if omitted
# the machine will not start after the pull is complete
START_AFTER_PULL false
Where:
<user>: will be the user name for your system
To pull the image from the catalog, the user will need to authenticate with the service by passing either the --username and --password flags or by using the --api-key flag with a valid key. If the user has the required claims to access the image, the service will then pull the image from the remote storage and create a new virtual machine with the same software stack as the Golden Master image. Otherwise, it will return a not found error.
prldevops pull ~/pull-ubuntu-builder.pdfile --username=root --password=VeryStr0ngP@ssw0rd
After the image is pulled, the user will have a new virtual machine with the same software stack as the Golden Master image, ready to be used.
It is important to note that this process may take some time, depending on the size of the virtual machine and the user’s internet connection.
Conclusion
In this example, we have demonstrated how the Parallels Desktop DevOps Service can be used to create a Golden Master image. This image can then be shared with your team through the Parallels Desktop DevOps Service and its Remote Catalog feature.
We have also highlighted how the Parallels Desktop DevOps Service can be utilized to retrieve the Golden Master image from the catalog and generate a new virtual machine with the same software stack as the Golden Master image.
This streamlined approach facilitates the secure sharing of Golden Master images with your team, ensuring that everyone has access to the same software stack.

