Creating a macOS Base Box Manually
Prior to reading this page, please check out the basics of the Vagrant box file format.
Pre-requisites
Install Vagrant, you can find the instructions here
Start Parallels Desktop and create a new macOS virtual machine as outlined in KB 125561.
While creating the VM, give the username as ‘vagrant’ only.
If this is a public box you should set the password to ‘vagrant’ as well.- Enable passwordless sudo for
vagrantuser on macOS virtual machine: - Open Terminal in macOS virtual machine and run:
$ sudo visudo /private/etc/sudoers.d/vagrantPaste this line there and save the file (
:wq) :vagrant ALL = (ALL) NOPASSWD: ALLNow
vagrantuser is allowed to runsudowithout a password prompt.- Enable passwordless sudo for
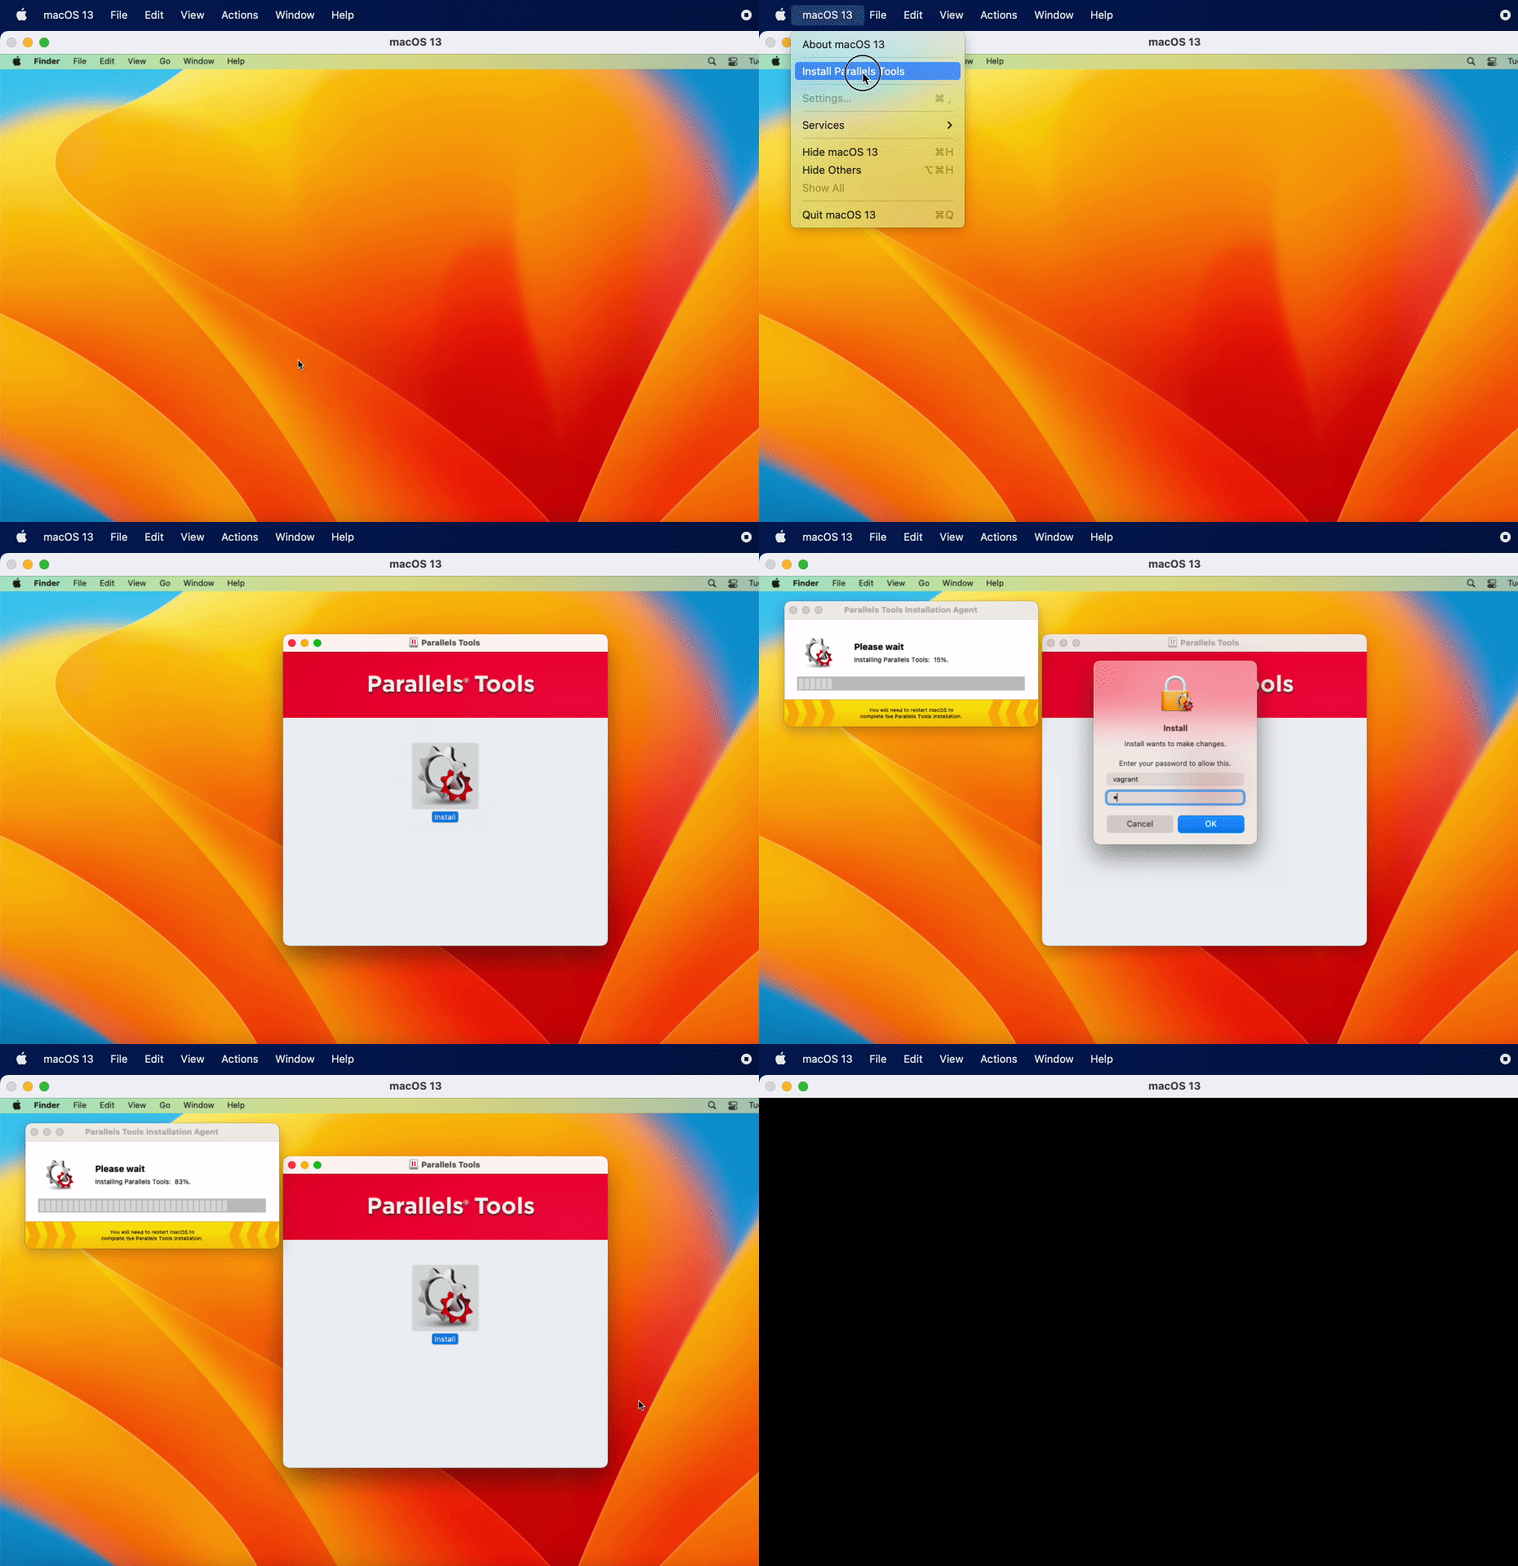
Install Parallels Tools inside the macOS virtual machine.
macOs 13 > Install Parallels Tools
Note: Installing the Parallels Tools will require a reboot
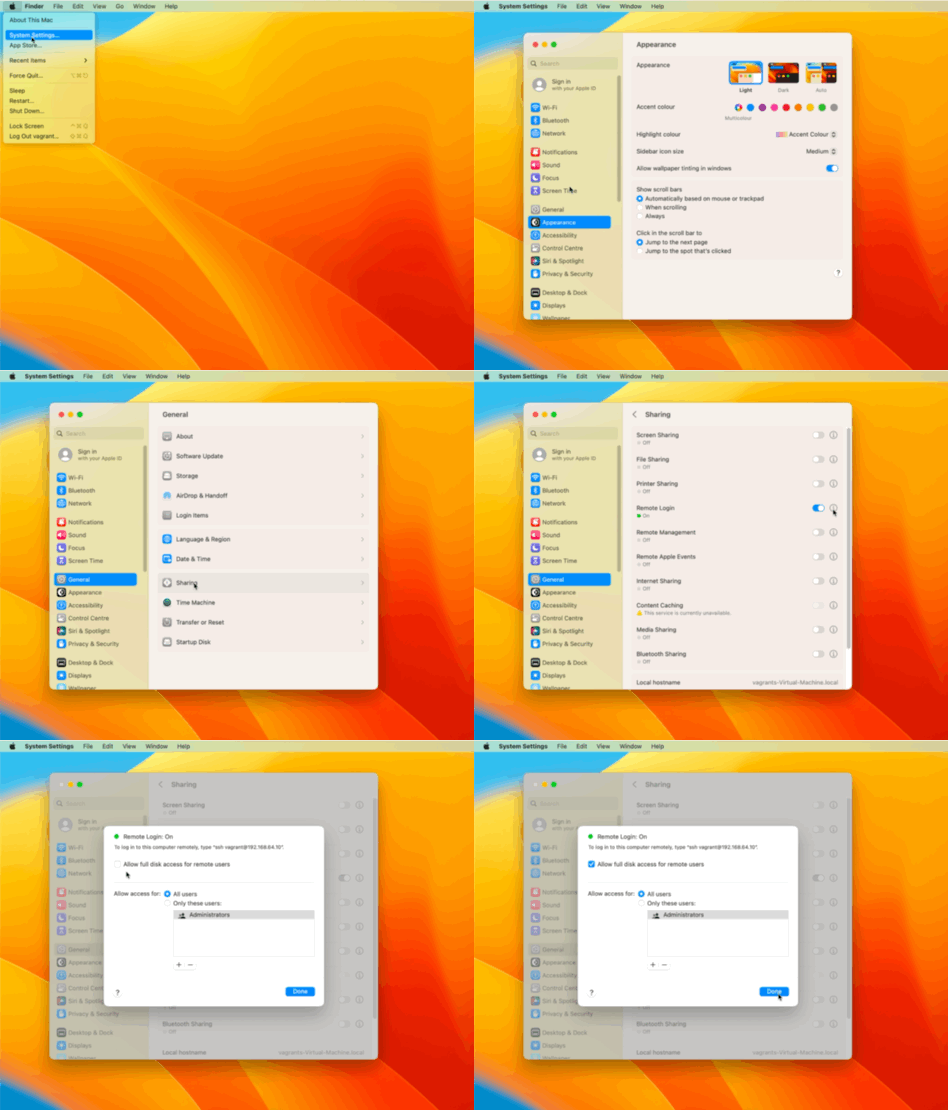
Reboot macOS virtual machine and then enable Remote Login (System Settings > General > Sharing > Enable Remote Login). Select “All users” and also enable “Full disk access to users”, as shown on the picture below:

Copy the vagrant public SSH key to the machine
$ ssh-copy-id -i $(find /opt/vagrant/embedded/gems -type d -name keys)/vagrant vagrant@<virtual_machine_ip>where
<virtual_machine_ip>is the current IP of the virtual machine, which could be determined using this command:$ prlctl list -f
Create Base Box
- In Parallels directory on your Mac create a folder (something simple like
VagrantTest). Copy the initially created bundle of your macOS virtual machine (it has the .macvm extension) to the newly created folder (
VagrantTest).Optional: You can rename macOS virtual machine with a unique name so that you won't get any name collision issues.
- Run Terminal on the host side and execute the following command:
$ prlctl set "macOS 13" --name "macOS_13"Where the name 'macOS_13' is your virtual machine's name.
Note: Renaming the virtual machine is one of the solutions to avoid name collision. You can also remove macOS virtual machine from Control Center (Parallels icon > Control Center > Right-click on macOS 13 virtual machine > Remove 'macOS 13' > Keep Files).
Attention: If you used the public vagrant ssh key then you will not need to do the next steps as they are only copying the ssh key that you generated.
Download metadata.json file and put it in the VagrantTest folder.
Create a box by Terminal.
- Execute the following command:
$ cd VagrantTest
$ tar cvzf custom.box ./box.macvm ./metadata.json
where:
custom.box- any box name. For example, vagrant.box, vagrant_project.box, etc.
box.macvm- macOS virtual machine's name from step 1 (for example,macOS\_13.macvm)
metadata.json- files from VagrantTest folder.Note: The name of the macOS 13 virtual machine should not contain any spaces.

Add the created box into vagrant boxes:
- Run Terminal and execute:
$ vagrant box add <name>.box --name macOS13where
<name>.box is the name of the box created in the previous step.Go to ~/.vagrant.d/boxes/macOS13 folder and check that extension of macOS virtual machine is
.macvm:
Create a Vagrant folder
We now have our base box created, to create virtual machines from it we will need to create a Vagrant folder structure and a Vagrantfile.
Create a new folder in the home directory and name it VFTest (In the Finder, you can open your home folder by choosing Go > Home or by pressing Shift-Command-H).
Note: The name of the folder can be different. 'VFTest' is just for example.
You can now start the vagrant box by typing:
$ cd <path to the folder>
$ vagrant init macOS13
$ vagrant up -provider=parallels
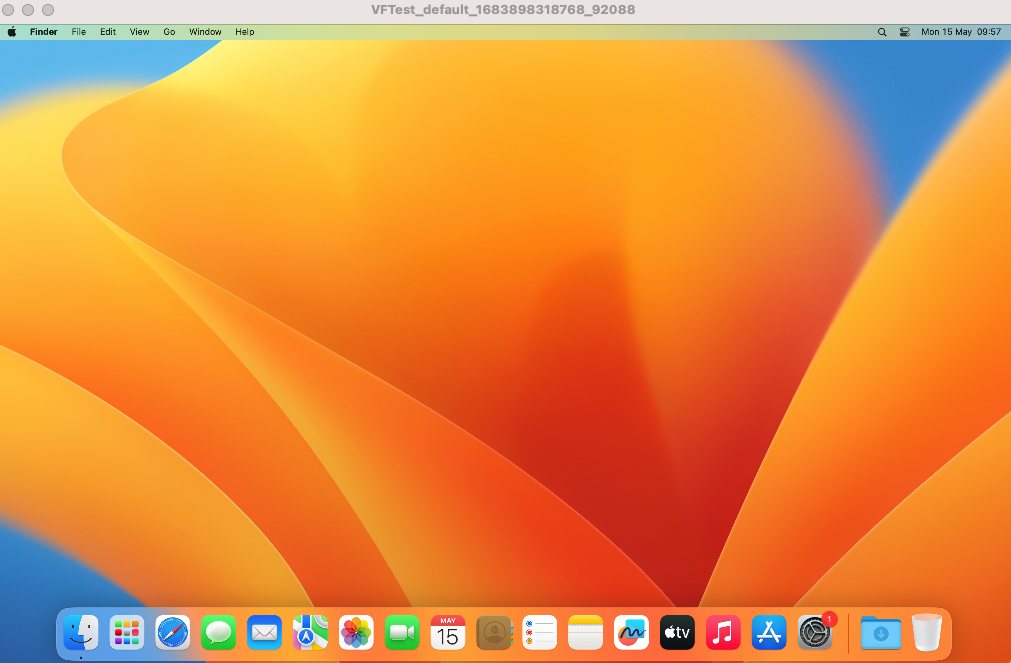
This command will start macOS virtual machine (the name of the virtual machine will be different):

Now you are ready to execute Vagrant commands.